Good Gourds!
The "small" version of my pumpkin set was made using the pattern here:
Make It Sew Sweater Style Pumpkin
I followed the instructions exactly (except for the color choices), and I found it to be an easy-to-read and easy-to-follow pattern. I haven't checked out any of the other patterns on the site, but if you do, let me know in the comments below!
For the medium and large pumpkins, I altered the pattern, as shown below. The medium pattern is printed below, with separate notation for the large pumpkin in [brackets]. If I didn't do it that way, it'd take you a week to read it all.
Medium Pumpkin, 9" wide and 7" tall [Large Pumpkin, 11" wide and 9"tall]
What You Need:
2 skeins of super bulky weight yarn (I used Lion Brand Hometown USA or Wool Ease Thick and Quick) in the main pumpkin color
1 skein of super bulky weight yarn in the stem color
Tapestry Needle for weaving ends
Polyfill (or stuffing)
Dried Beans (or weights)--optional
What to Know:
CH = Chain
HDC BLO = Half Double Crochet, Back Loop Only
SS = Slip Stitch
SC2TOG = Single Crochet 2 (Two) Together
What You Do (Pattern written in US terms):
Chain 21 [25]
Row 1: HDC BLO 19 [23] across; CH 2; turn
Repeat 24 [30] times, so you have 25 [31] rows
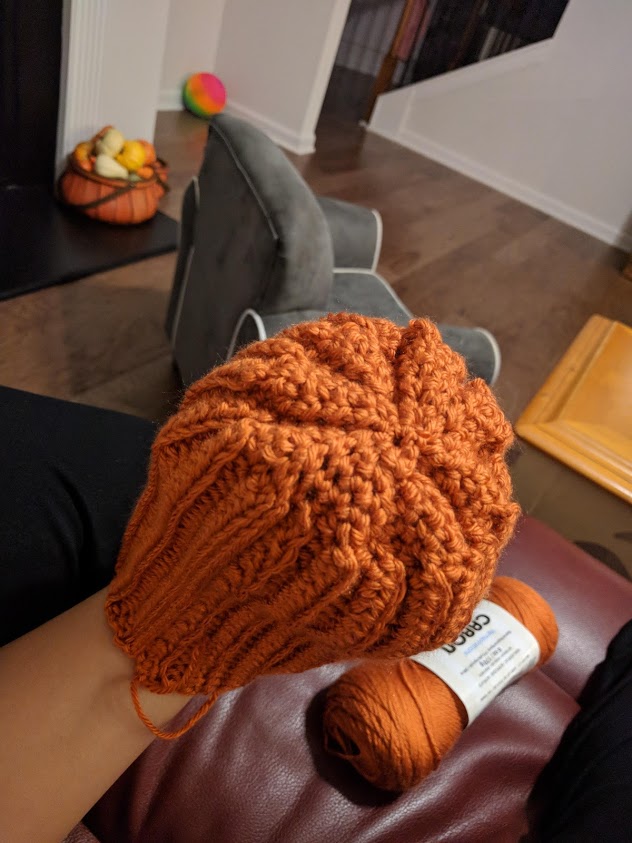
Fold project so that starting chain and row 25 [31] line up.
SS to join the two. You should have a tube, like this. (This is from my small pumpkin, but the shape should be the same.)

From here, you will SC along the edge. You should get about 24-25 [31-32] stitches around (do not join). That's Round 1.
Round 2: *SC2TOG, SC, SC* repeat *...* around (do not join).
Round 3: *SC2TOG, SC* repeat *...* around (do not join).
Round 4: SC2TOG around.
At this point, you will pull a fairly long tail of yarn and cut. (I over estimate and make sure I have a length that is 3-4 times the length of the tube.)
Tie off your end and use your tapestry needle to sew around the end. You should be able to pull tight and close it like a drawstring. (See here)
At this point, you'll thread your long tail up the side of the pumpkin to the open end. Sew around the open end, but do not pull tight.
If using weights, secure the weights in the bottom. Stuff your pumpkin with polyfill (or your selected stuffing) until it has the squish you want it to have. I like mine firm, but still forgivingly squishy, myself. Once you have achieved the firmness you want, pull the thread tight, closing the pumpkin, and tie it off.
To get that adorable pumpkin shape (and the reason I asked you to have such a long tail) you're going to thread the tail through the top of the pumpkin and down through the bottom. Thread the tail back through the top. You're going to want to do this several times, ending with the tail coming out of the top. Then, pull tight until your pumpkin has the best shape for you. Here's a look at shaped, stemless pumpkins. This also gives perspective on the large size versus the small size.

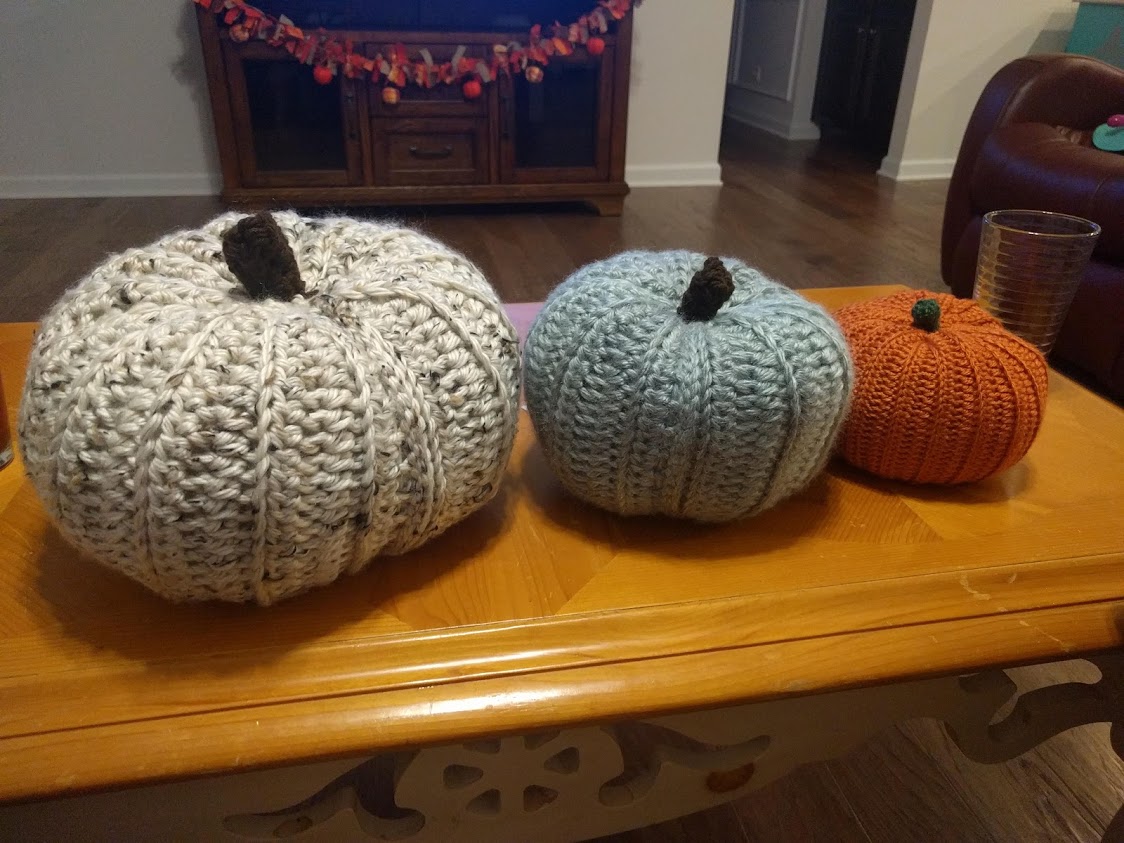
Now, the stems are easy, and done exactly as the pattern on MakeItSew, just with the appropriate hook and yarn sizes. For this project, I prefer the CH 2, SC 6 times in first CH method rather than the magic circle. I tried both, and the magic circle method wasn't as clean looking. Also, messing up on the stem is encouraged! I misplaced a few stitches in one of my stems, and I love the gnarled look it gave. You can also continue in the round to make your stems as short or long as you like. Once done, simply sew the stem to the top of the pumpkin and weave in any ends. Here is a look at all three; if you follow me on Facebook, you've seen this already.

The Wordy Bit (It hasn't been wordy enough?!)
Oof! This has been a long post, so thanks for toughing it out if you're still with me! This project was brought to me by a neighbor/friend. I thought it was good fun, and I was posting about it on my personal Facebook page. Lo and behold, I started getting order requests! This was the first time I had multiple people reach out at once and say: "Hey, I want that!" It was fun; it was awesome; and it was surreal!
You'll notice that the medium pumpkin above is blue-gray. My brother (bless his heart) wanted a jarrahdale pumpkin. I had to look it up, because I didn't recognize the name off-hand. It's the pumpkin most commonly used for pumpkin pies, and it is corpse colored. Like, 1980s zombie corpse color. It was definitely a challenge to find the right color, but Lion Brand Hometown USA had my back! (Along with the help of the knitting/crochet club at my local Joann. They sprung into action looking for the right color when I told them what I was looking for.)
I plan on opening up orders for pumpkins again next year, and I'll be developing my own unique patterns in the meantime so I have examples on hand and pricing worked out. So, be on the lookout for new pumpkin craziness around February, because I'll be posting sneak peeks and progress.
As a reminder, all clickable links are affiliate links. I will earn money if purchases are made through these links.
As a reminder, all clickable links are affiliate links. I will earn money if purchases are made through these links.

Comments
Post a Comment